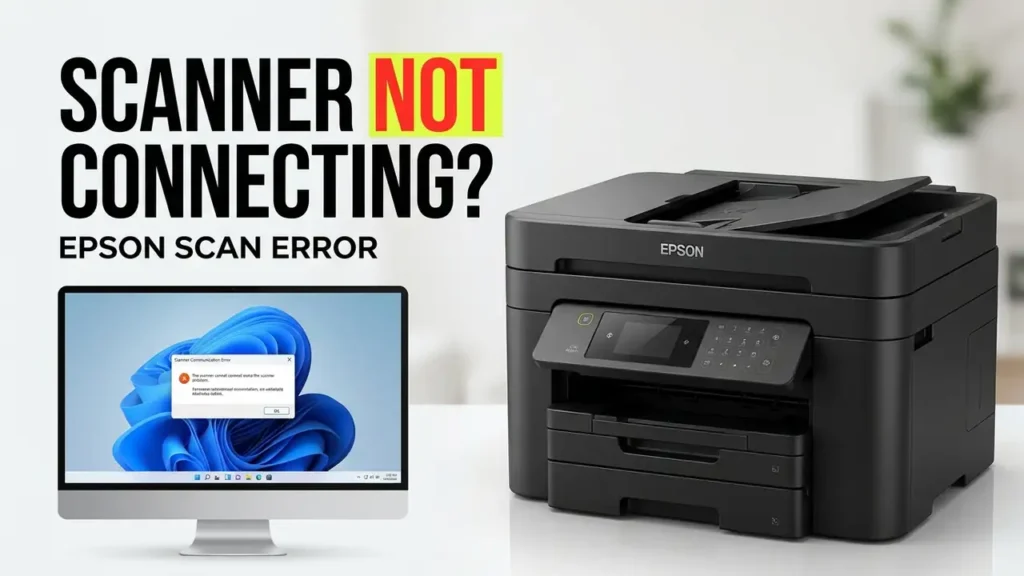

Epson Scan Cannot Communicate With Your Scanner? Start Here
You open Epson Scan, select your scanner, and try to scan a document. Instead, you get the message “Cannot Communicate with the Scanner.” Sometimes, Epson Scan 2 displays a network connection error even though the printer or scanner is turned on.
If Epson Scan cannot communicate with your scanner, the cause may be an incorrect connection setting, a Windows USB detection problem, or a missing network scanner entry.
The right solution depends on which Epson scanning software you’re using and how your device is connected. Start with the checks below before reinstalling anything.
First, Identify Your Epson Scanning Software
Epson Scan and Epson Scan 2 don’t use exactly the same setup.
- Epson Scan: Uses Epson Scan Settings to select the scanner and test its USB or network connection.
- Epson Scan 2: Uses Epson Scan 2 Utility. USB scanners are normally added automatically, while network scanners may need to be registered manually.
To identify your version, search Windows for Epson Scan Settings or Epson Scan 2 Utility.
This distinction matters because applying network setup instructions to a USB scanner can lead to unnecessary changes.
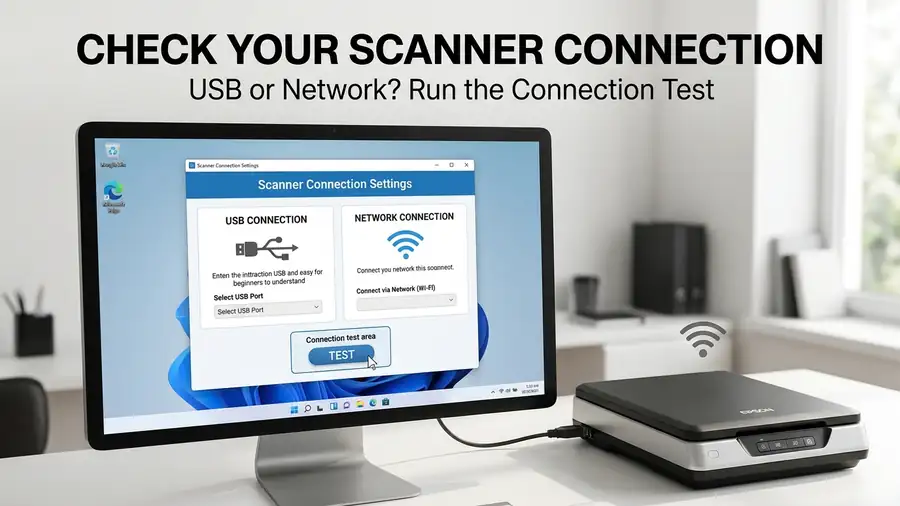
1. Test the Connection in Epson Scan Settings
If you’re using the older Epson Scan application, begin by checking whether the correct scanner and connection type are selected.
- Search for Epson Scan Settings in Windows.
- Open the utility.
- Select your Epson product from the scanner list.
- Check the Connection Type.
- Select USB or Network, depending on your actual connection.
- Click Test.
If the test succeeds, click OK to save the settings and try scanning again.
If the test fails, continue with the matching USB or network checks below.
If your scanner isn’t listed, download the compatible Epson Scan software from the official support page for your exact model.
2. Restart Windows Image Acquisition (WIA)
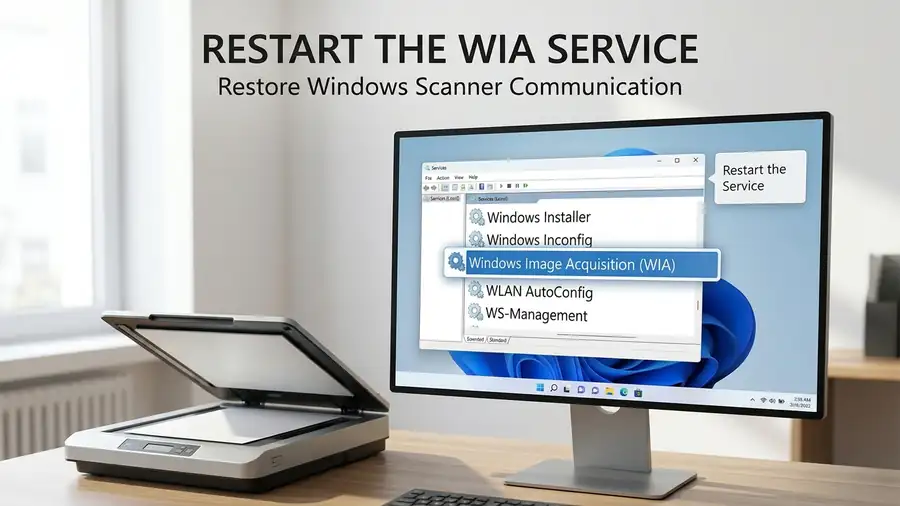
For compatible Epson Scan setups using a USB connection on Windows 11, Epson documents a communication problem that can occur when Windows Image Acquisition (WIA) has stopped or isn’t responding.
To restart the service:
- Open Windows Search.
- Type Services and launch the app.
- Find Windows Image Acquisition (WIA).
- Right-click it and select Restart.
- Open Epson Scan and run the connection test again.
If Restart isn’t available, check the service status. If it’s stopped, use Start if available.
Important: This recommendation applies to the documented Epson Scan USB scenario. It isn’t a universal fix for every Epson Scan 2 or Wi-Fi problem.
Official guide: Epson – Windows 11 Epson Scan communication error
3. Check the USB Cable and Windows Device Detection
If your Epson scanner connects directly to your computer, a faulty cable or an undetected device can prevent Epson Scan from working.
Try the following:
- Make sure the scanner is powered on and ready.
- Disconnect and reconnect the USB cable at both ends.
- Check the cable for visible damage.
- Try another compatible USB cable.
- Connect directly to the computer instead of using a USB hub.
- Try another USB port.
Epson recommends using a USB cable no longer than 1.8 meters for the documented USB troubleshooting scenario.
Next, open Device Manager and check whether Windows detects the scanner. Depending on the device and driver, it may appear under Imaging devices or another device category.
If it appears as an unknown device or has a warning symbol, check the Epson driver for your exact model before reinstalling anything.
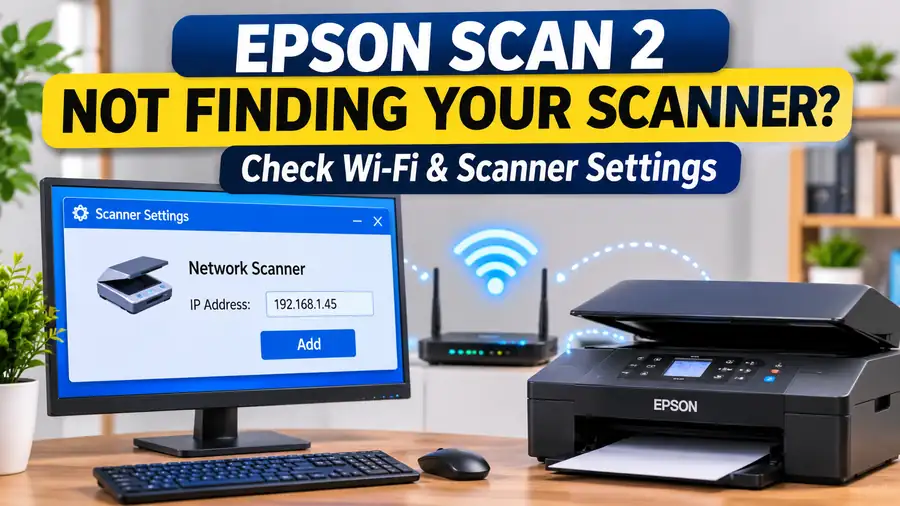
4. Add a Network Scanner in Epson Scan 2
If you’re using Epson Scan 2 over Wi-Fi or Ethernet and see “Unable to connect to network scanner”, the scanner may not have been registered in Epson Scan 2.
First, make sure the computer and scanner are connected to the same local network.
Then:
- Search for Epson Scan 2 Utility and open it.
- Open Scanner Settings.
- If your scanner isn’t listed, select Refresh.
- If it still doesn’t appear, select Enable Editing and approve the Windows permission prompt.
- Click Add.
- Select your Epson model.
- Choose its IP address from the list.
- Click Add, then select OK.
If the IP address isn’t listed, choose Enter Address and type the scanner’s correct IP address.
Close the utility, open Epson Scan 2, and test the scanner.
Note: These steps are for network-connected scanners. Epson Scan 2 normally adds USB-connected scanners automatically.
Official guide: Epson – Add a Network Scanner to Epson Scan 2
5. Verify the Network Connection
If Epson Scan still cannot find a network scanner, check the connection itself.
- Make sure the scanner is powered on.
- Confirm that the computer and scanner are on the same Wi-Fi network.
- Check the scanner’s current IP address using its network status information.
- Compare that address with the one registered in Epson Scan or Epson Scan 2.
- If the address has changed, update the scanner entry.
If you recently changed your router, Wi-Fi name, or network settings, the old scanner entry may no longer point to the correct device.
Run the connection test again after updating the settings.
6. Reinstall the Correct Epson Software
If the scanner is still not detected after checking its connection and settings, the installed scanning software or driver may need attention.
- Visit Epson Support.
- Search for your exact scanner or printer model.
- Open its Downloads section.
- Check which scanning application is supported.
- Download the compatible Epson Scan or Epson Scan 2 package.
- Follow Epson’s installation instructions.
Don’t install Epson Scan 2 simply because it’s newer. Software availability and compatibility depend on your product model.
Quick Diagnosis
| What happens | What to check |
|---|---|
| Epson Scan says Cannot Communicate | Scanner selection and connection test |
| USB scanner isn’t detected | USB cable, port, and Device Manager |
| Epson Scan fails on Windows 11 USB | WIA service, if using a compatible Epson Scan setup |
| Epson Scan 2 cannot find a network scanner | Scanner registration and IP address |
| Scanner worked before a router change | Current network and IP settings |
Frequently Asked Questions
Why does Epson Scan say it cannot communicate with the scanner?
The selected connection may be incorrect, Windows may not detect the scanner, or Epson’s software may need to be reconfigured. The cause depends on the scanning application and connection type.
Why does Epson Scan 2 not detect my scanner?
For a network-connected scanner, Epson Scan 2 may need the device to be added through Scanner Settings. Check that both devices are on the same network and register the scanner using its IP address if necessary.
Why does my Epson scanner work with Windows Scan but not Epson Scan?
Windows Scan and Epson’s scanning software use different applications and configurations. If Windows Scan works, check the scanner selected in Epson Scan and its connection settings first.
Should I reinstall Epson Scan?
Not as the first step. Test the connection, check USB or network detection, and verify the scanner settings. Reinstall the compatible software only if those checks don’t solve the problem.
More Printer Guides
- Printer Not Showing Up in Windows 11
- Printer Offline in Windows 11
- Printer Connected but Not Printing
- Mac Can’t Find Printer
Final Thoughts
When Epson Scan cannot communicate with your scanner, don’t assume the driver is broken. The problem may be as simple as an incorrect connection setting or a scanner that hasn’t been registered in Epson Scan 2.
Start with the connection test, then follow the USB or network instructions that match your setup. Reinstalling the software should be a later step, not the first thing you try.